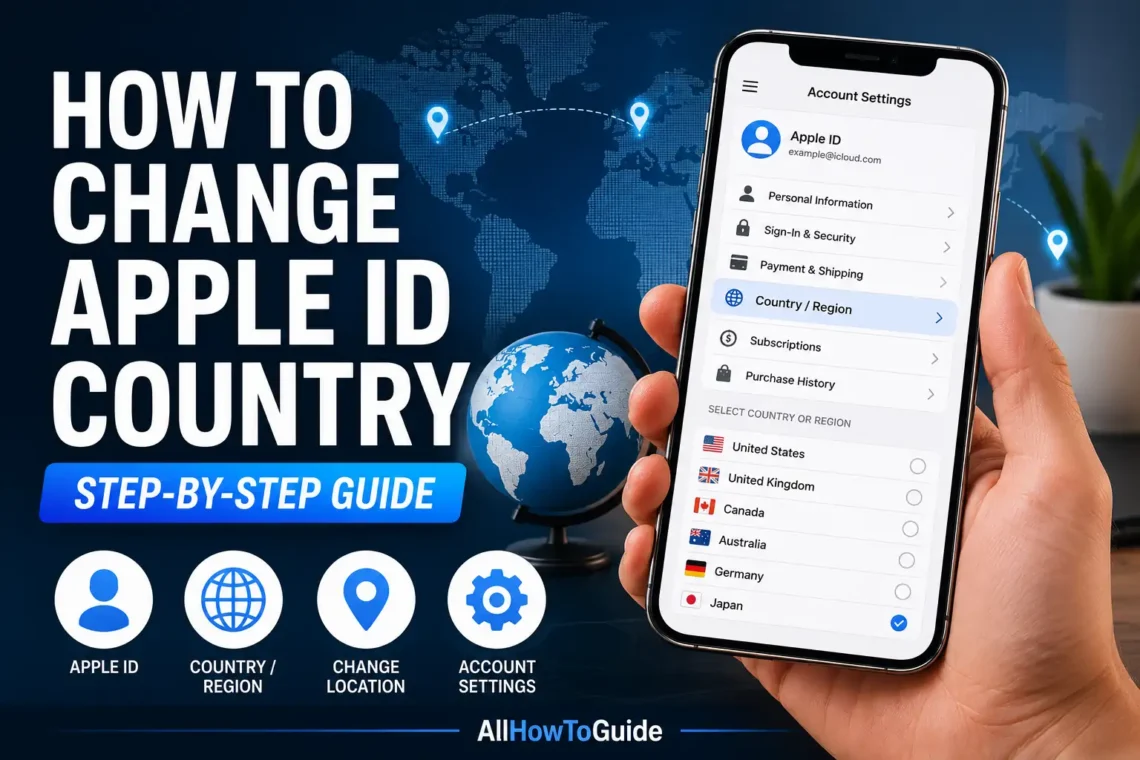
Changing your Apple ID country isn’t something most people do often, but there are plenty of valid reasons to make the switch. Maybe you’ve moved to a new country, started using a different payment method, or want access to apps and services that are only available in another region. Whatever the reason, Apple allows you to change your account’s country or region—as long as you meet a few requirements first.
If you’ve tried changing your Apple ID country before, you may have seen error messages about active subscriptions, remaining store credit, or family sharing. These issues can be frustrating if you don’t know what’s causing them.
In this guide, you’ll learn how to change Apple ID country on your iPhone, iPad, Mac, and the web. You’ll also learn what to do if the option is unavailable and how to avoid common mistakes.
Why Would You Need to Change Your Apple ID Country?
Your Apple ID country determines which App Store, Apple Music catalog, Apple TV content, payment methods, and subscriptions are available to you.
People usually change their country because they:
- Move to another country
- Need local payment methods
- Want region-specific apps
- Relocate for work or school
- Access local Apple services
- Create a permanent residence abroad
Changing your country also updates the store where future purchases are made.
Things to Do Before Changing Your Apple ID Country
Before you begin, Apple recommends taking care of a few important items.
Make sure you:
- Spend any remaining Apple Account balance.
- Cancel active subscriptions if required.
- Wait for memberships or rentals to expire.
- Leave any Apple Family Sharing group if necessary.
- Have a valid payment method for your new country.
- Know your new billing address.
Completing these steps helps avoid errors during the process.
If your iPhone has security features enabled before making account changes, you may also want to read our guide on How to Turn Off Stolen Device Protection.
Can You Change Your Apple ID Country Without Moving?
Yes.
Apple doesn’t require proof that you’ve physically moved. However, you’ll need a valid payment method and billing information that works in the country you’re switching to.
Some apps, movies, TV shows, books, and subscriptions may not be available after the change because content licensing differs by region.
How to Change Your Apple ID Country on iPhone or iPad
Changing your country from an iPhone or iPad only takes a few minutes.
Step 1: Open Settings
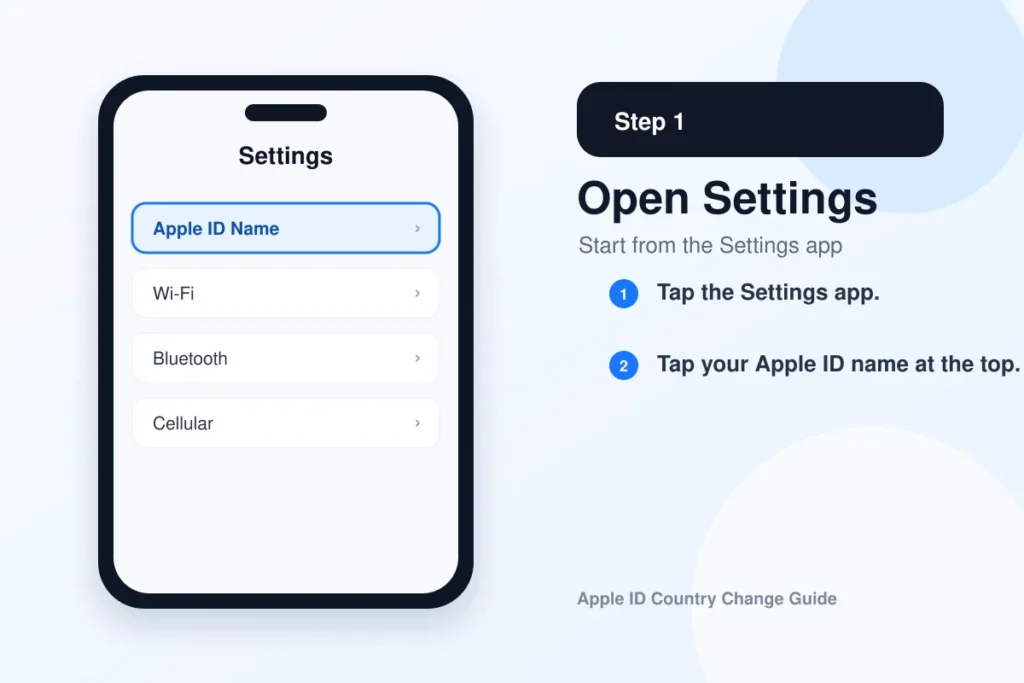
Tap the Settings app.
Tap your Apple ID name at the top.
Step 2: Open Media & Purchases
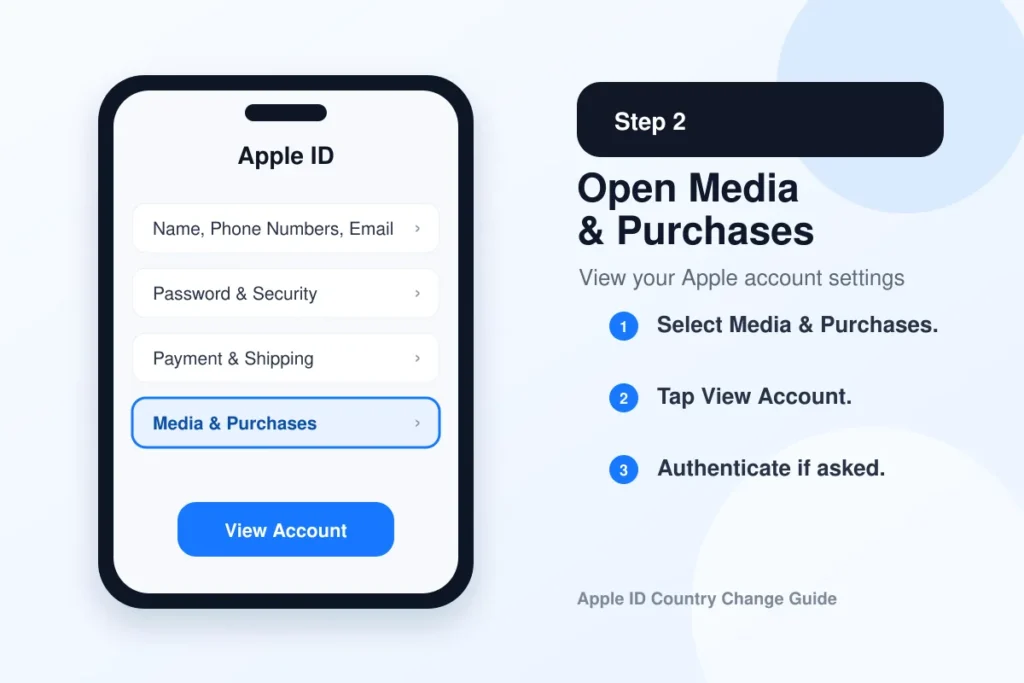
Select:
Media & Purchases
Tap:
View Account
You may be asked to authenticate using Face ID, Touch ID, or your password.
Step 3: Open Country or Region
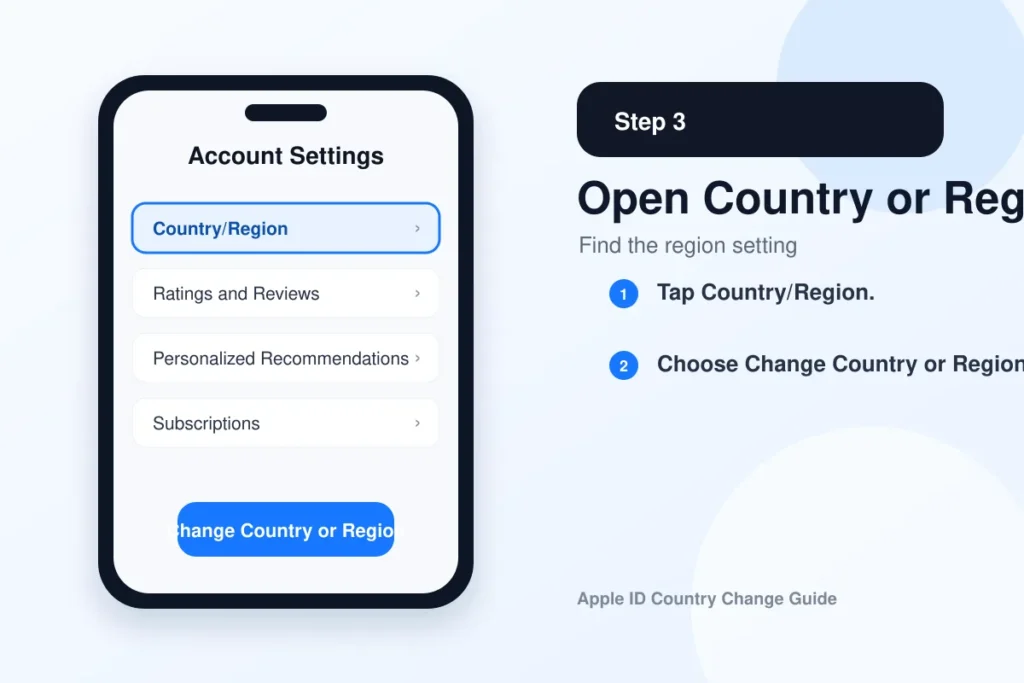
Tap:
Country/Region
Then choose:
Change Country or Region
Step 4: Select Your New Country
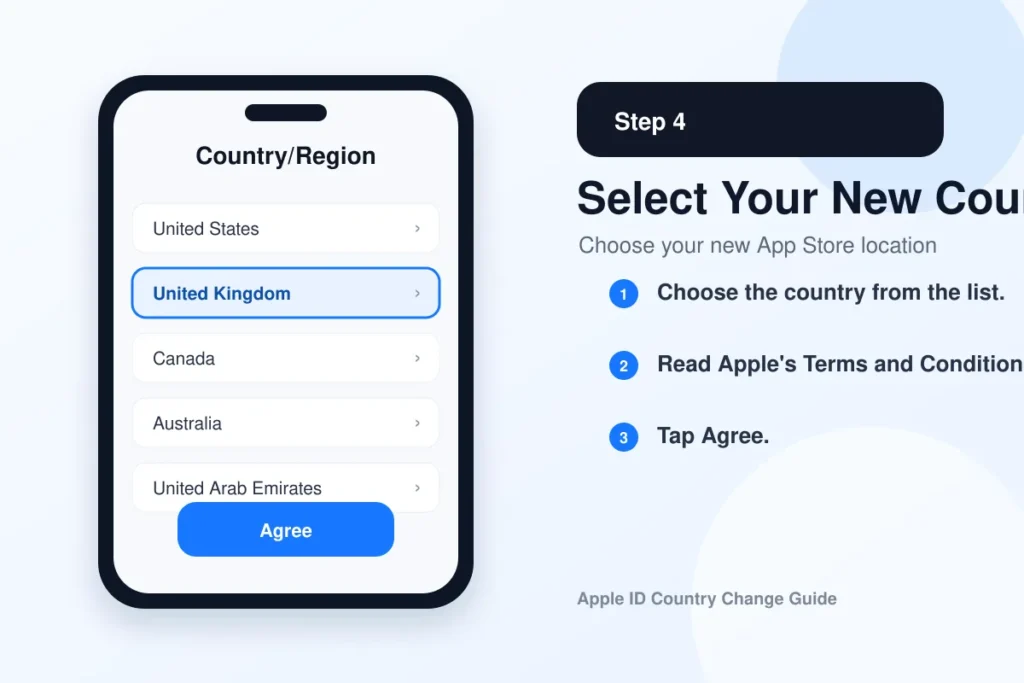
Choose the country you want from the list.
Read Apple’s Terms and Conditions.
Tap:
Agree
Step 5: Enter Payment Information
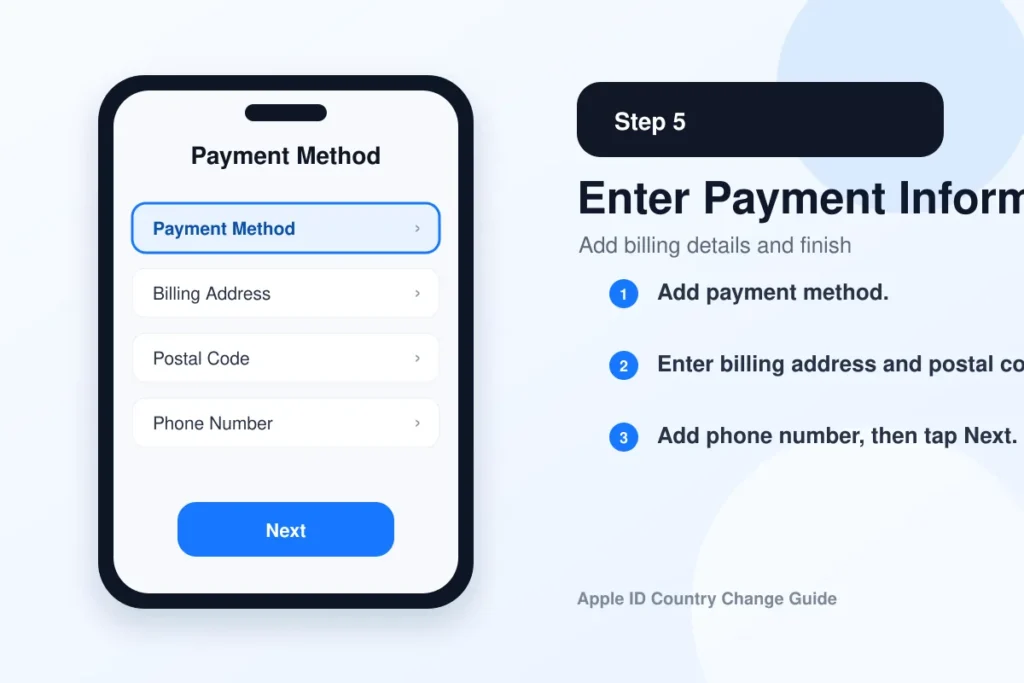
Add:
- Payment method
- Billing address
- Postal code
- Phone number
Tap:
Next
Your Apple ID will now use the selected country’s App Store.
If you’re also adjusting other iPhone settings while updating your Apple ID, our guide on How to Turn Off SOS on iPhone explains how to manage emergency features.
How to Change Your Apple ID Country on Mac
Mac users can make the same change through the App Store.
Step 1: Open the App Store
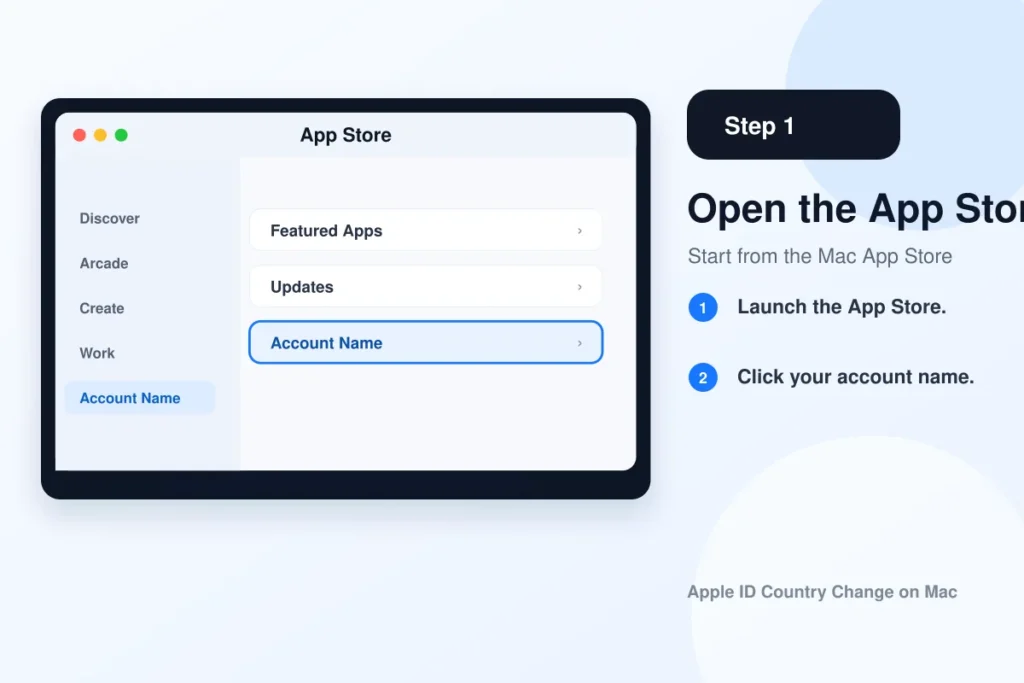
Launch the App Store.
Click your account name.
Step 2: Open Account Settings
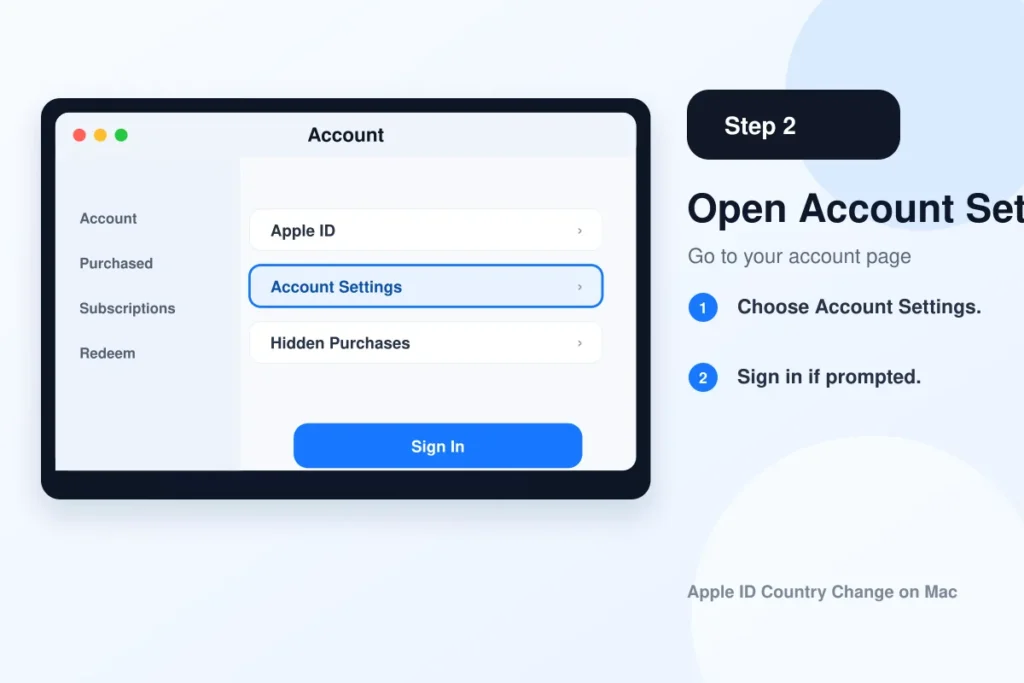
Choose:
Account Settings
Sign in if prompted.
Step 3: Change Country
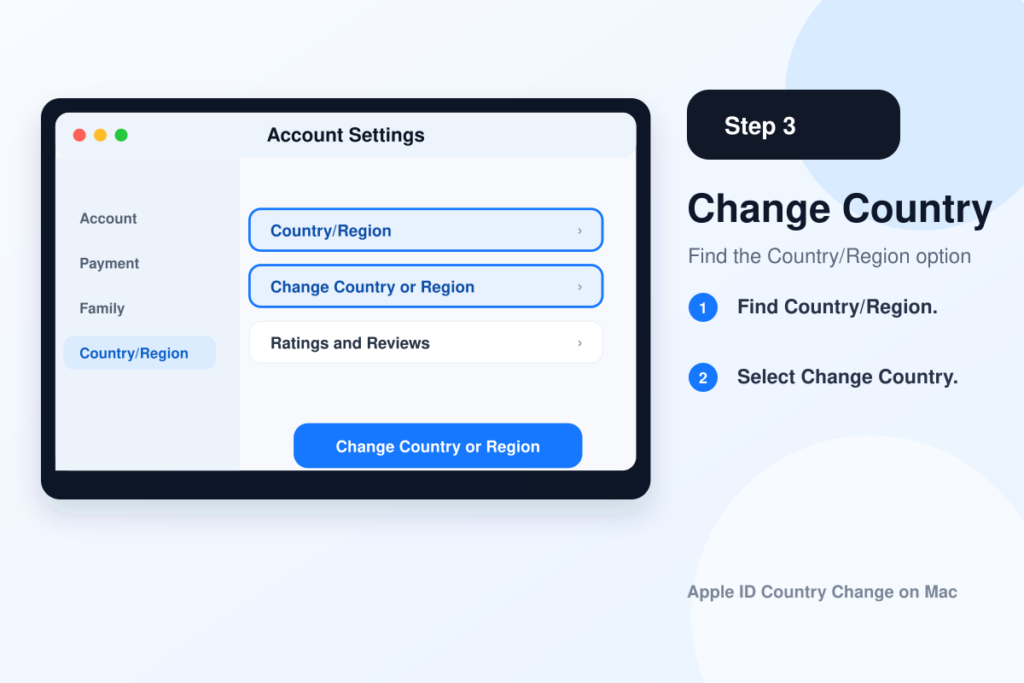
Find:
Country/Region
Select:
Change Country or Region
Step 4: Complete the Information
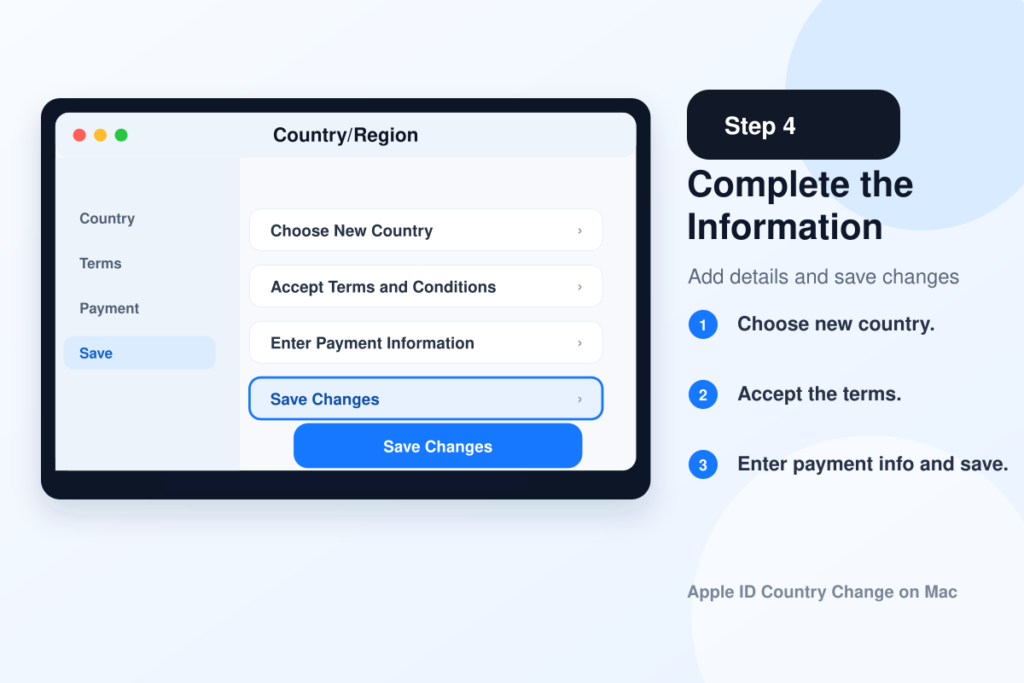
Choose your new country.
Accept the Terms and Conditions.
Enter your payment information.
Save your changes.
How to Change Your Apple ID Country Using a Web Browser
You can also update your account online.
Step 1: Visit Your Apple Account
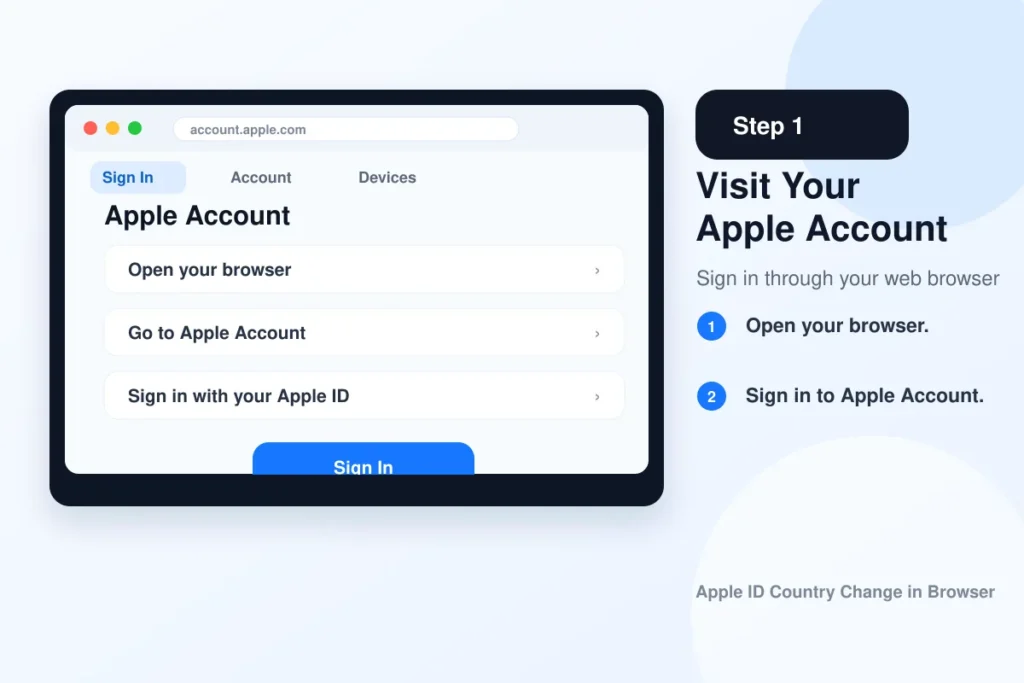
Open your browser and sign in to your Apple Account.
Step 2: Open Personal Information
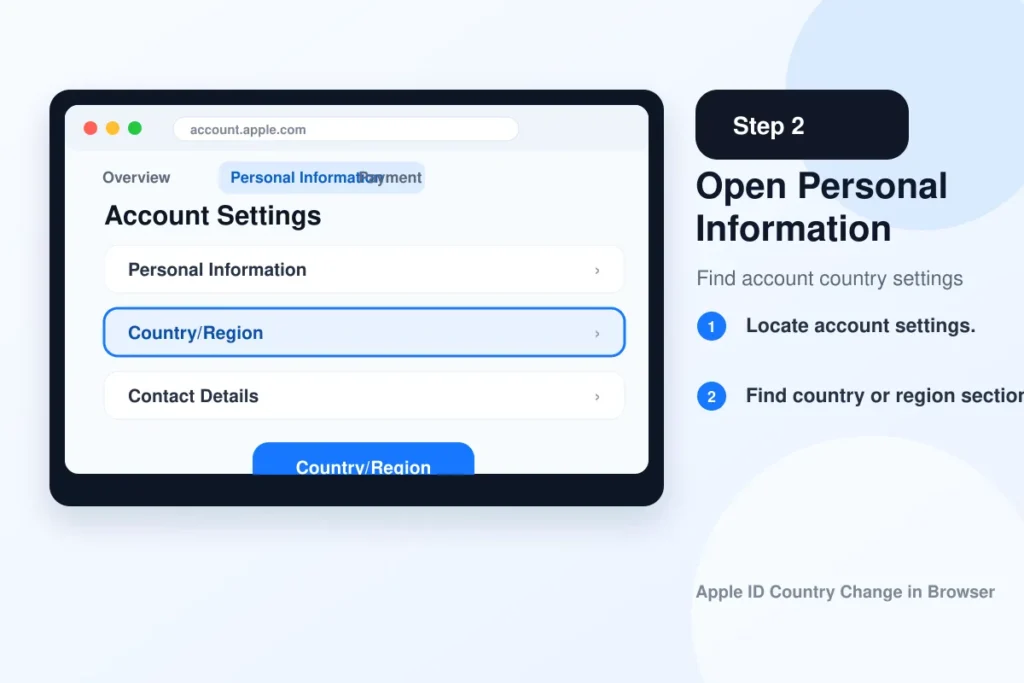
Locate your account settings.
Find the section related to your country or region.
Step 3: Update Country
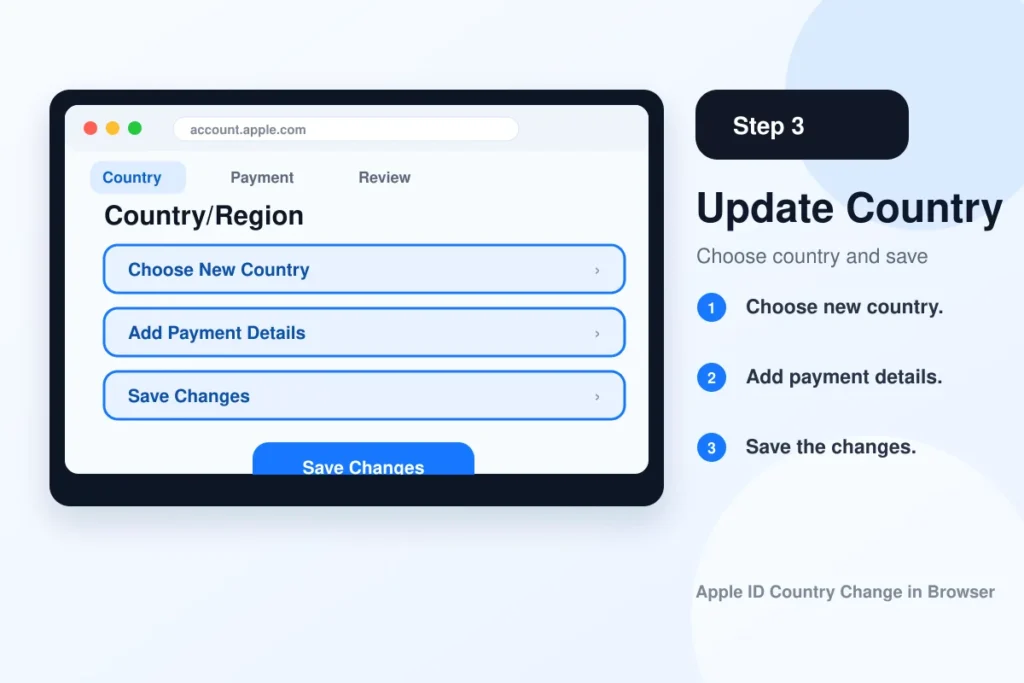
Choose your new country.
Add the required payment details.
Save the changes.
Why Can’t You Change Your Apple ID Country?
If the option is unavailable, one of these issues is usually responsible.
Active Subscriptions
Apple Music, Apple TV+, Apple Arcade, iCloud+, or other subscriptions may prevent the change.
Cancel them first and wait until the billing period ends if required.
Remaining Apple Account Balance
Even a small amount of remaining balance can block the process.
Spend the balance before changing countries.
Family Sharing
If you’re part of Family Sharing, you may need to leave the family group before changing your country.
Pending Purchases
Wait until pending purchases or refunds are completed.
Pre-orders
Cancel any active pre-orders before switching regions.
What Happens After You Change Countries?
Several things may change immediately.
You may notice:
- A different App Store.
- Different available apps.
- Updated Apple Music library.
- Different movies and TV content.
- New payment methods.
- Different subscription pricing.
Your photos, contacts, notes, and iCloud data remain associated with your Apple ID.
After changing your Apple ID region, it’s also a good idea to make sure your AirTag accessories are working properly. See our guide on How to Change AirTag Battery.
Will You Lose Your Apps?
Usually, no.
Apps you’ve already downloaded generally remain installed.
However, updates may become unavailable if the app doesn’t exist in your new country’s App Store.
Some region-specific apps may disappear entirely.
Does iCloud Change Too?
No.
Your iCloud storage, photos, contacts, calendars, reminders, and backups remain linked to your Apple ID.
Changing countries does not delete your personal data.
Tips Before Switching Countries
To make the process smoother:
- Back up your important data.
- Spend your remaining Apple balance.
- Cancel subscriptions if needed.
- Keep your payment information ready.
- Update your billing address.
- Check whether your favorite apps are available in the new region.
A few minutes of preparation can save a lot of troubleshooting later.
Common Problems and How to Fix Them
“You Must Spend Your Store Credit”
Use the remaining balance before changing your country.
“Cannot Change Country”
Check for subscriptions, Family Sharing, or pending purchases.
Payment Method Declined
Use a payment method issued in your new country whenever possible.
Missing Apps
Some developers only publish apps in selected countries.
Unfortunately, those apps won’t appear if they aren’t licensed in your new region.
Final Thoughts
Learning how to change Apple ID country is easier than many people expect once you understand Apple’s requirements. The most important steps are clearing any remaining account balance, resolving active subscriptions, and adding a valid payment method for your new region. After the switch, you’ll have access to your new country’s App Store and supported Apple services while keeping your personal iCloud data and purchases connected to your Apple ID.
FAQs
1. Can I change my Apple ID country without losing my photos?
Yes. Your iCloud photos and personal data remain safe.
2. Why can’t I change my Apple ID country?
Active subscriptions, remaining store credit, Family Sharing, or pending purchases are the most common reasons.
3. Will I lose my purchased apps?
Most previously downloaded apps remain installed, but some may not receive updates if unavailable in the new region.
4. Can I switch back to my original country later?
Yes. You can change your country again as long as you meet Apple’s requirements.
5. Does changing my Apple ID country affect iCloud?
No. Your iCloud data, backups, contacts, and photos remain linked to your Apple ID.
📚 Related Guides
Need more Apple and iPhone help? These step-by-step guides can help: