
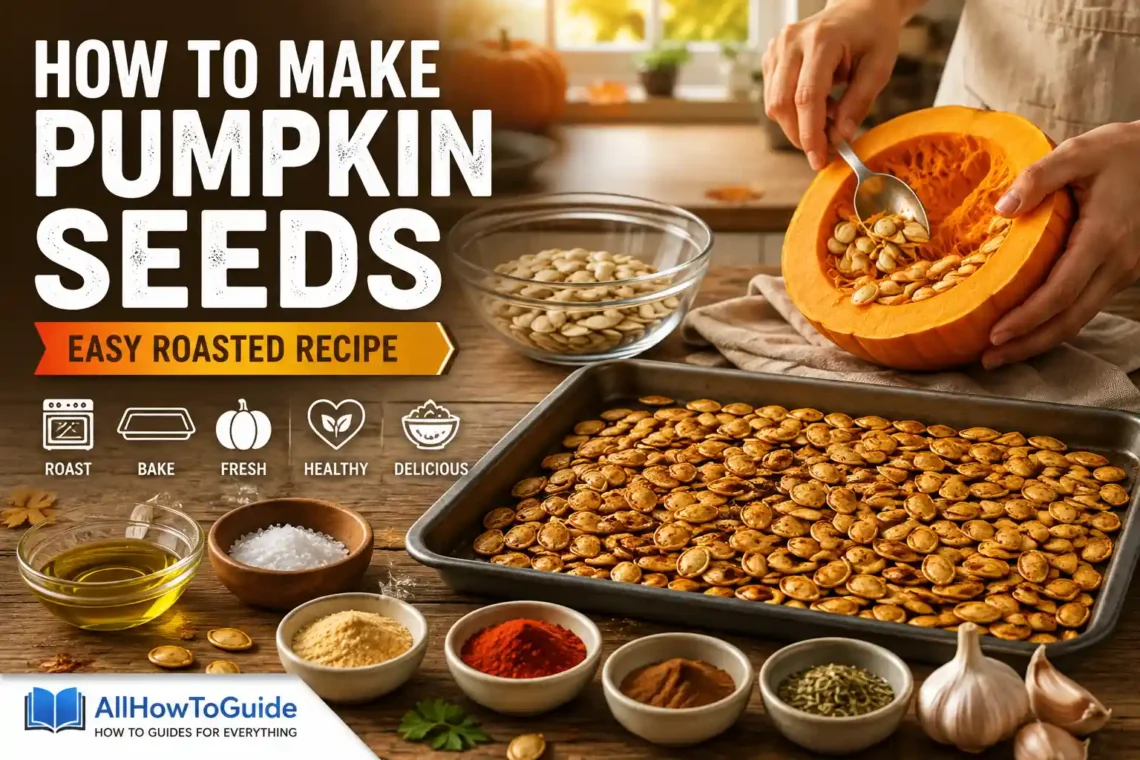
Every year, thousands of pumpkins are carved for Halloween, turned into soups, or baked into delicious pies. But while the orange flesh gets all the attention, the seeds often end up in the trash. That’s a missed opportunity because pumpkin seeds are not only edible—they’re incredibly nutritious and surprisingly easy to turn into a crunchy homemade snack.
If you’ve never roasted pumpkin seeds before, you might think it’s complicated. In reality, the process is simple, requires only a handful of ingredients, and takes less than an hour from start to finish. Once you learn how to make pumpkin seeds, you’ll probably never throw them away again.
Whether you like your snacks lightly salted, spicy, cheesy, or even sweet, roasted pumpkin seeds are easy to customize and perfect for enjoying at home.
Why Roast Pumpkin Seeds Instead of Throwing Them Away?
Pumpkin seeds are packed with nutrients that many people don’t realize they’re wasting. They’re naturally rich in protein, healthy fats, magnesium, zinc, iron, and antioxidants, making them one of the healthiest homemade snacks you can prepare.
Besides their nutritional value, roasting also enhances their flavor. Raw pumpkin seeds have a mild taste, but after spending time in the oven, they develop a rich, nutty crunch that’s hard to resist.
Another benefit is reducing food waste. Instead of discarding the seeds every time you cut open a pumpkin, you can transform them into something delicious with very little effort.
Ingredients You’ll Need
One reason roasted pumpkin seeds are so popular is because the ingredient list is incredibly short.
For a classic recipe, you’ll need:
- Seeds from one medium pumpkin
- 1–2 tablespoons olive oil or melted butter
- ½ teaspoon salt
That’s enough to make a tasty batch, but if you enjoy experimenting in the kitchen, you can also prepare seasonings like garlic powder, paprika, black pepper, Parmesan cheese, Cajun seasoning, cinnamon, or brown sugar.
Step 1: Remove the Seeds from the Pumpkin
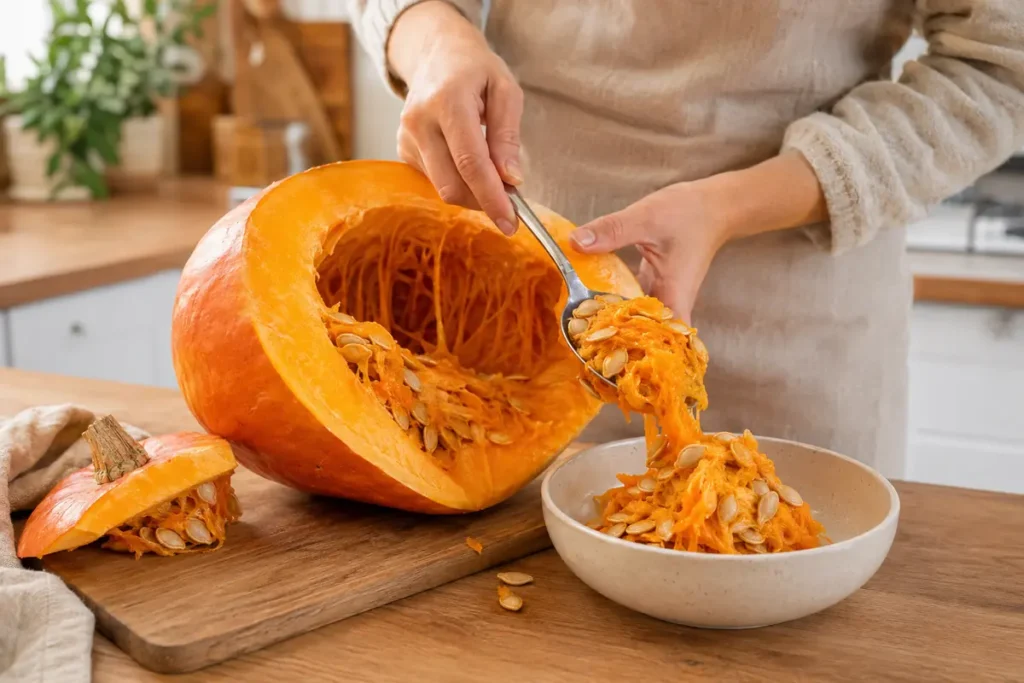
The first step is opening your pumpkin and scooping out everything from the center.
You’ll notice the seeds are attached to thick, stringy pulp. Don’t waste time trying to clean each seed immediately. Simply use a large spoon to scoop everything into a bowl.
Trying to separate the seeds while they’re still dry usually creates a mess. It’s much easier once water is added in the next step.
Step 2: Wash and Separate the Seeds
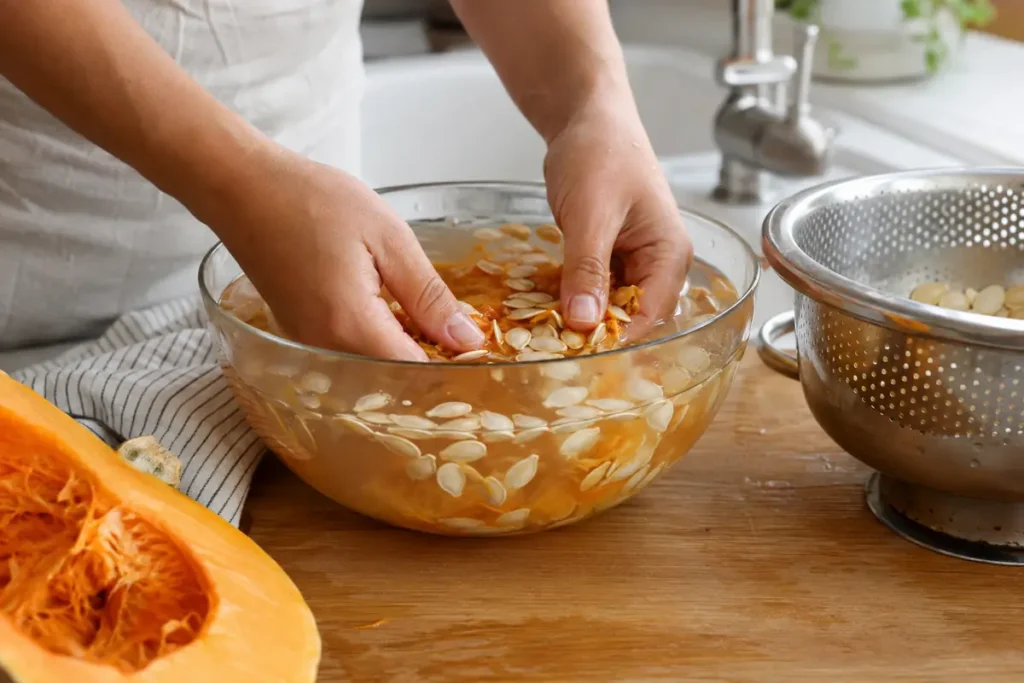
Place the seeds into a bowl filled with cool water.
As you gently stir them with your hands, the seeds will naturally separate from the pulp. Most of the stringy pieces can simply be pulled away and discarded.
Once the majority of the pulp has been removed, pour everything into a colander and rinse the seeds under running water.
They don’t have to be perfectly spotless, but removing most of the pumpkin fibers helps them roast evenly and prevents burnt bits from affecting the flavor.
Step 3: Dry the Seeds Completely
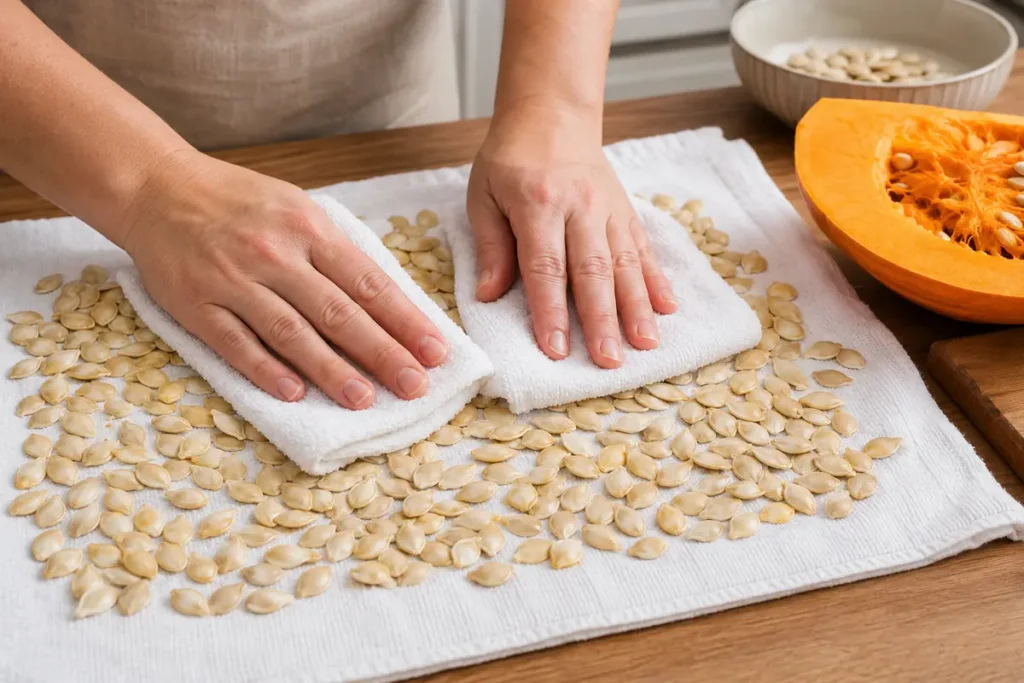
This is the step many beginners overlook, but it’s one of the most important.
Spread the cleaned seeds across a kitchen towel or several layers of paper towels and gently pat them dry. If possible, let them sit for another 20–30 minutes to air dry.
The less moisture they contain, the crispier they’ll become in the oven.
If you roast wet seeds, they’ll steam instead of becoming crunchy.
Step 4: Add Oil and Seasonings
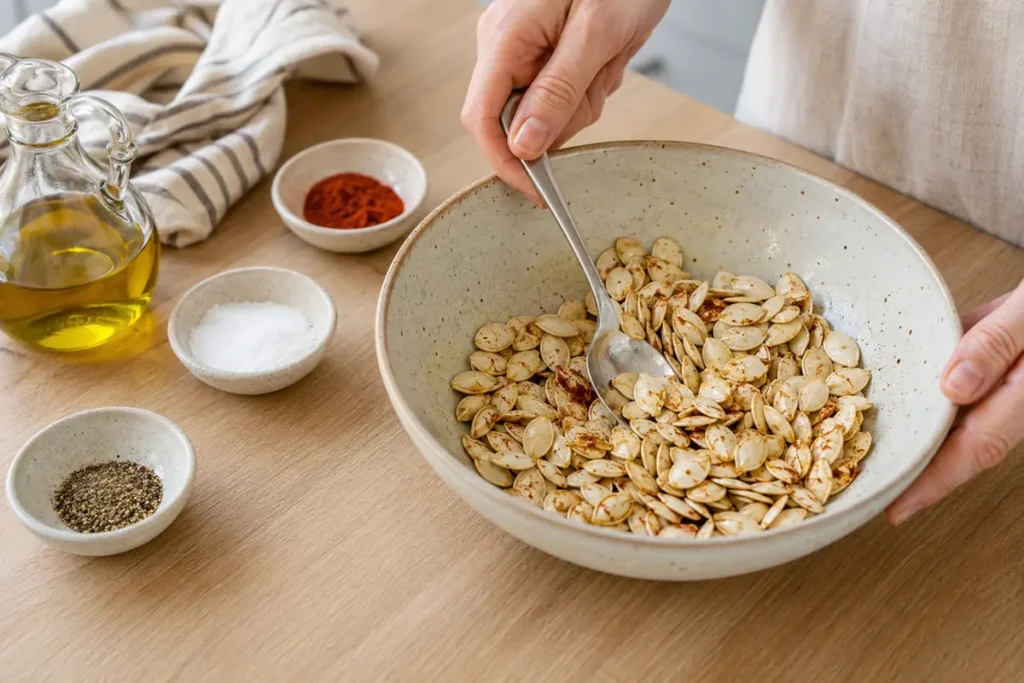
Transfer the dry seeds into a mixing bowl.
Drizzle them with olive oil or melted butter and stir until every seed has a light coating.
Next, sprinkle in your seasonings.
For a simple, classic flavor, salt is all you need. If you enjoy bolder flavors, this is the perfect time to add garlic powder, paprika, black pepper, or your favorite spice blend.
The goal is to lightly coat the seeds—not drown them in oil or seasoning.
Step 5: Roast the Pumpkin Seeds
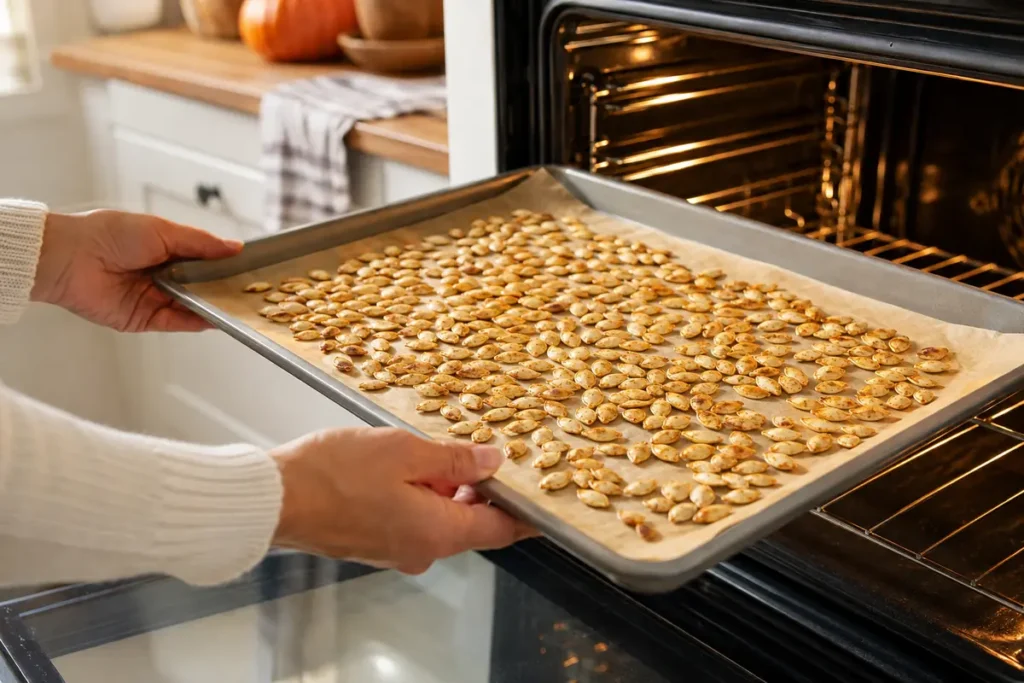
Preheat your oven to 300°F (150°C).
Spread the seasoned seeds in a single layer on a baking tray. Avoid piling them together because crowded seeds cook unevenly.
Roast them for about 35 to 45 minutes, stirring every 10 to 15 minutes.
Halfway through baking, you’ll notice the seeds beginning to dry out and develop a light golden color. By the end of the cooking time, they should be crispy, lightly browned, and smell pleasantly nutty.
Every oven is slightly different, so keep an eye on them during the last few minutes.
Let the Seeds Cool Before Eating
Fresh out of the oven, roasted pumpkin seeds can still feel slightly soft.
Don’t worry—they’ll continue to crisp as they cool.
Allow them to rest on the baking tray for about 10–15 minutes before transferring them to a bowl.
Many people think their seeds aren’t crispy enough simply because they taste them too soon.
Popular Seasoning Ideas
One of the best things about homemade pumpkin seeds is how easy they are to customize.
Classic Salted
Olive oil and sea salt create a simple snack that’s always a favorite.
Garlic Parmesan
Mix garlic powder, Parmesan cheese, Italian herbs, and black pepper for a savory option.
Spicy
Paprika, chili powder, cayenne pepper, and cumin create a smoky kick.
Sweet Cinnamon Sugar
Butter, cinnamon, and brown sugar turn pumpkin seeds into a delicious autumn treat.
Ranch Style
Ranch seasoning mixed with a little garlic powder makes an addictive snack that’s perfect for movie nights.
Common Mistakes to Avoid
Even though roasted pumpkin seeds are easy to make, a few small mistakes can affect the final result.
One of the biggest mistakes is skipping the drying process. Moisture prevents the seeds from becoming crispy.
Another common problem is using too much oil. A light coating helps them roast evenly, while excess oil makes them greasy.
Roasting at very high temperatures can also burn the outside before the inside becomes crunchy.
Finally, don’t forget to stir the seeds during baking. Turning them every few minutes ensures they brown evenly on all sides.
How to Store Roasted Pumpkin Seeds
Once the seeds have cooled completely, transfer them to an airtight container.
They’ll stay fresh:
- Around one week at room temperature
- Up to three weeks in the refrigerator
- Up to three months in the freezer
Keeping moisture out of the container is the key to maintaining their crunch.
More Ways to Enjoy Pumpkin Seeds
Roasted pumpkin seeds aren’t just for snacking.
They also make an excellent topping for:
- Salads
- Creamy soups
- Oatmeal
- Yogurt
- Homemade granola
- Rice bowls
- Roasted vegetables
Their crunchy texture and nutty flavor work well in both savory and sweet dishes.
Final Thoughts
Learning how to make pumpkin seeds is one of the easiest ways to turn something that usually gets thrown away into a healthy, delicious snack. With just a few simple ingredients and a little time in the oven, you can create perfectly crispy roasted pumpkin seeds that are packed with flavor and nutrition. Whether you enjoy them lightly salted or coated in bold spices, homemade pumpkin seeds are a simple recipe you’ll want to make every pumpkin season.
FAQs
1. Do I have to boil pumpkin seeds before roasting?
No. Cleaning and drying them properly is enough for crispy roasted pumpkin seeds.
2. Can you eat pumpkin seed shells?
Yes. Most roasted pumpkin seeds are eaten with the shell on.
3. Why aren’t my pumpkin seeds crunchy?
They’re usually not dry enough before roasting or need a little more cooking time.
4. What’s the best temperature for roasting pumpkin seeds?
Around 300°F (150°C) gives the best results for even roasting.
5. How long do roasted pumpkin seeds stay fresh?
Stored in an airtight container, they usually stay fresh for about a week at room temperature.
🥣 More Helpful How-To Guides
Looking for more easy step-by-step tutorials? You may also enjoy these guides: